
I can't believe my boys are now 3 and 6!
It marks a new era.
Me Hubsy rolls his eyes at my drama but seriously, I will never have a child under the age of 3 in my house again. Cue the crocodile tears. OK I'll move on from my grief now
(all mother's know that the time passes WAY to quickly)...
We recently had their space-themed birthday party. They are 2 years and 364 days apart so we did another combined birthday party this year, astronaut-style. The inspiration came when me Hubsy got me a bake pop maker for Christmas. I thought they would make great planets and so the theme was born. Unfortunately I was not successful, on the planet pops that is. I don't know what happened but my icing was just refusing to work with me so my would-be planets ended up looking more like brightly colored blobs. I give major props to this talented lady who totally pulled if off....
 | ||
| Aren't her's stellar! |
My one redeeming craft is these space jet packs that I made for part of the astronaut training that we did.
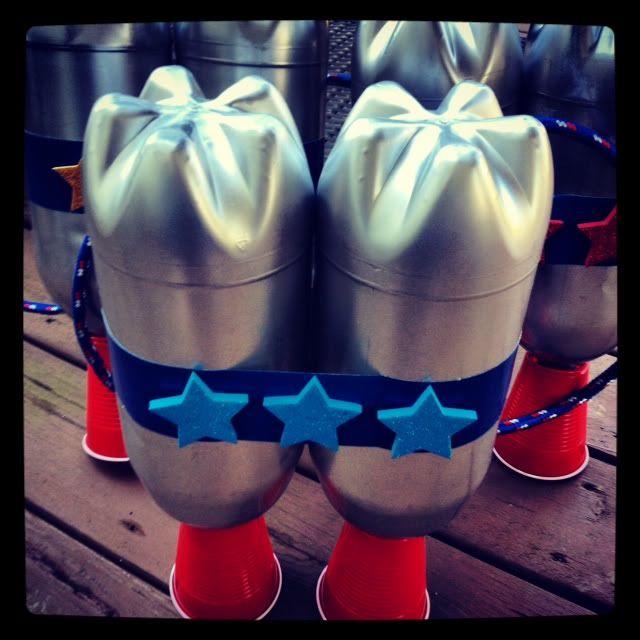
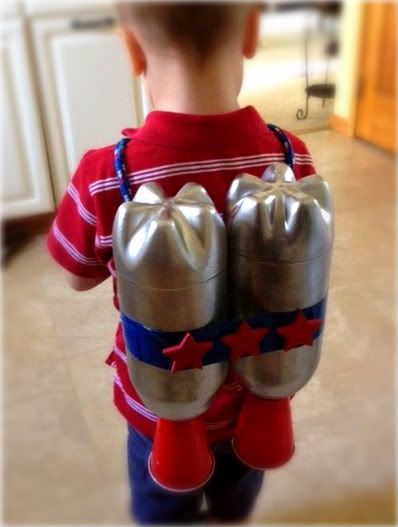 |
| I got the idea from my sweet friend Cory who saw them at her friend's party. |
UPDATE: So many people have asked for instructions on making the space packs so here you go!
1. Spray paint two 2L pop bottles a silver color and let dry.
2.
Set the two empty 2L pop bottles side by side. Use a hot glue gun to
run a line of glue where they touch and press them together.
3.
Use some rope for the shoulder straps. Tie a length of rope into a
circle, make one for each shoulder. Hold the rope circles in place on
the bottles and use heavy duct tape to wrap all pieces together.
4.
Use two red solo cups for the rocket boosters. Cut a hole in the
bottom of each cup for the mouth of the bottle to fit through. Use hot
glue to glue around the edges of the hole, attaching it to the mouth of
the bottle at the same time. Don't be afraid to glue the heck out of it
:)
5. I added some fun foam stars for decoration and voila!
The astronaut training went a little something like this...
{1} First challenge was to withstand forces your body will be under when in space.
We used centrifugal force and spun each kid around on a spinny chair. This went over quite well, what kid doesn't like to spin like crazy on an office chair!?!
{2} Next we had to test their lung capacity. We had them use straws and essentially use them to blow a paper wad across the table. Little did they know they were practicing for spit wad wars later in school :)
{3} We had "shuttle" races where they had to run to a designated spot, put on their space pack and
run back to the start.
{4} Lastly they had to hunt for "moon rocks" which I hid all over my house. I used black rocks from Wal-mart, you know, the kind that are supposed to be used for decorating vases, or candle-scapes?
Well they became moon rocks :)
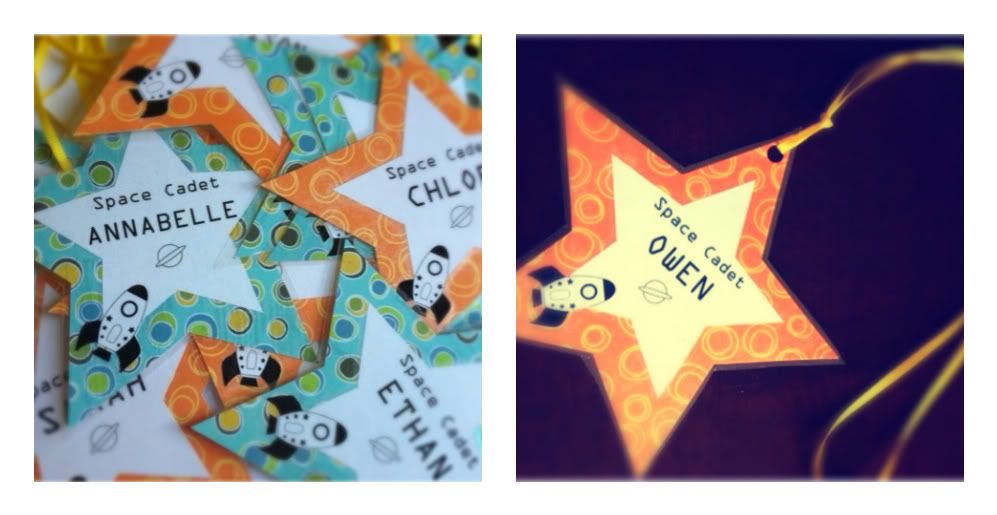
After completing their astronaut training, our little Space Cadets EACH got an official badge to wear.
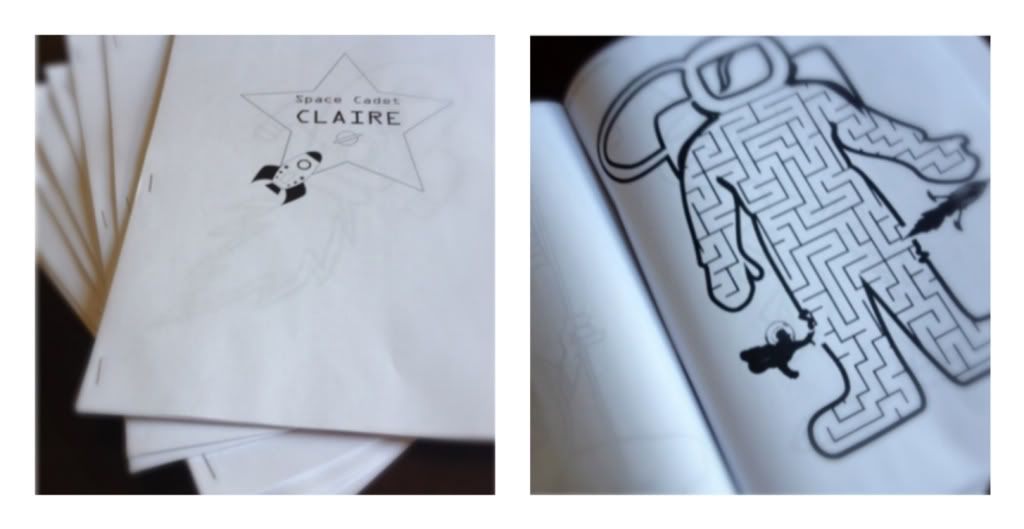
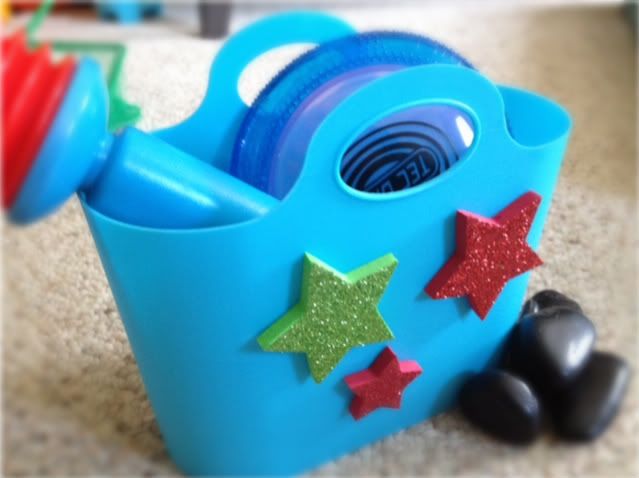
Their party gifts included a space coloring/activity book that I put together, some foam rocket blasters (courtesy of Wal-Mart), a mini frisbee (or flying saucer if you will), puffy star stickers, and of course...candy! They also got to keep their moon rocks and collection buckets.
Every year I try to make it organized and it sounds like it was from how I wrote it out above but somehow it always ends up in utter chaos. My sister-in-law told me to just embrace the chaos...wise words I think.
All in all my boys had a blast so it was all worth it.
Man am I glad I only have to do this once a year!
How about you? Do you do themed parties for your kids birthdays?
How do you keep things organized?
How about you? Do you do themed parties for your kids birthdays?
How do you keep things organized?


