
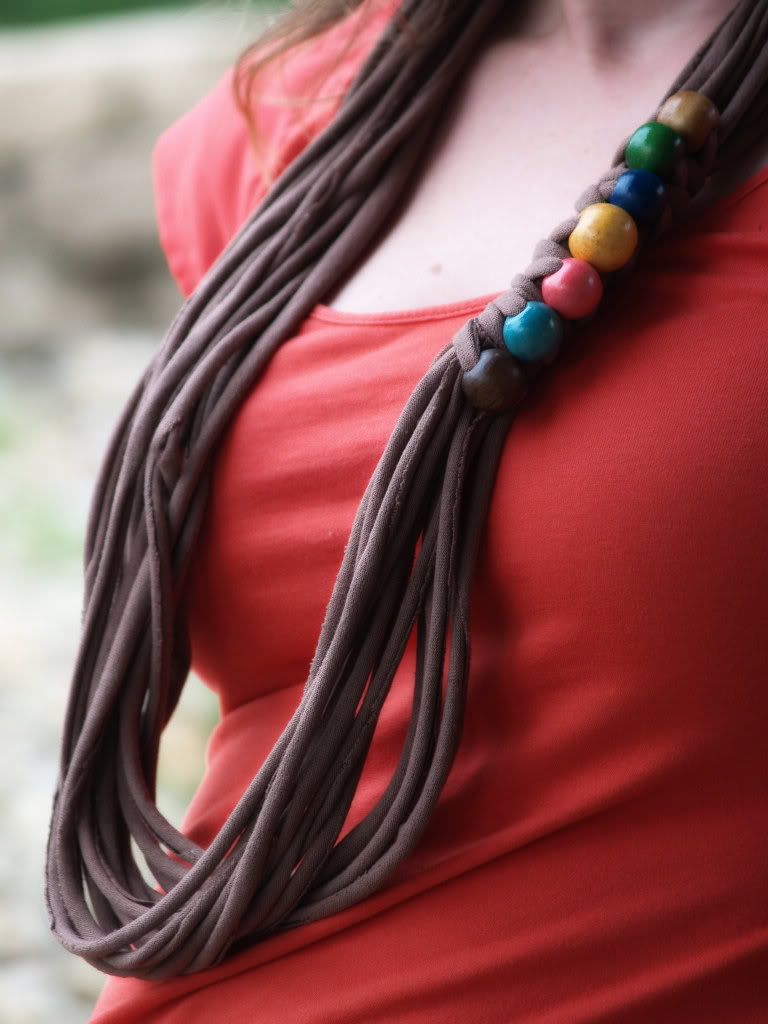
I've finally been making some of the things I see on pinterest and not just gawking at them.
One of my more recent projects was the DIY T-shirt scarf.
I know you've seen them on there.
They're everywhere!
They're everywhere!
Well this one is indeed as simple as it looks and with a really fun and functional result.
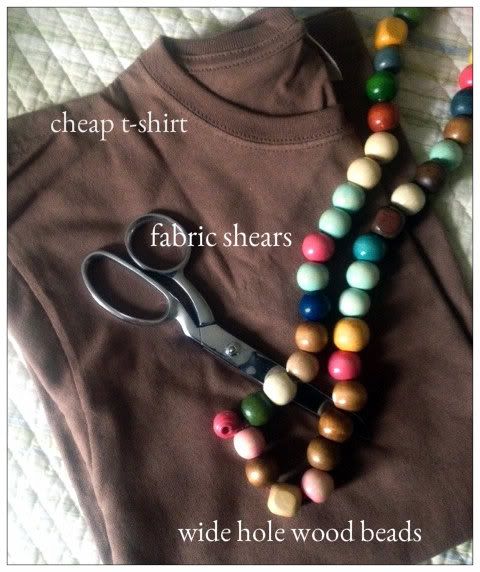
1. First I gathered my materials.
Use an old T-shirt you don't wear anymore or buy a cheap one from here. The wooden beaded necklace I thrifted at my local Goodwill store. I liked the pop of color it gave to my neutral brown T-shirt.
2. Next cut the shirt just under the armpit area.
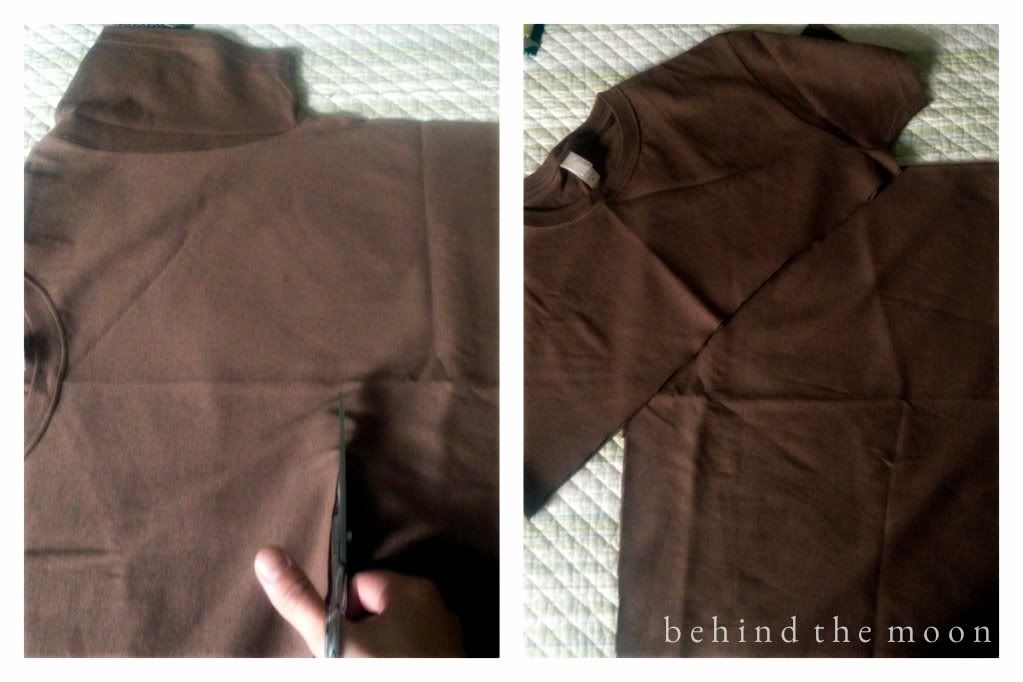
3. You can discard the top portion of the shirt or save it for another DIY project. (I'm saving mine to try a braided headband.) Then fold the bottom portion so that one half is about an inch shorter than the other half. The cut edges will be on the sides.
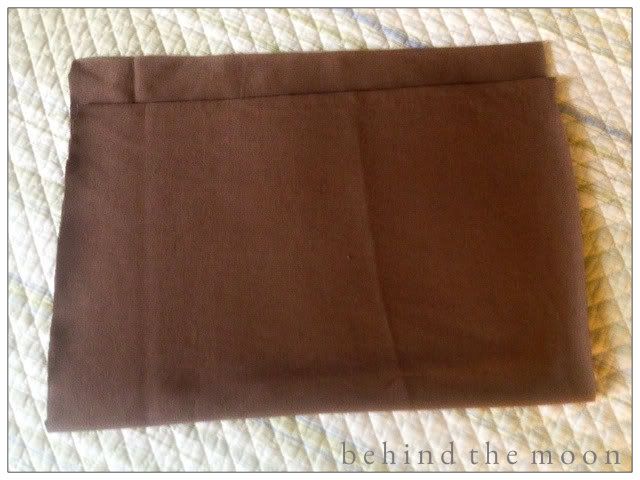
4. Begin to cut strips about 1 inch wide cutting all the way through the top folded layer but leaving the 1" gap at the top of the bottom layer. You will be left with a long solid portion with lots of strips hanging off.
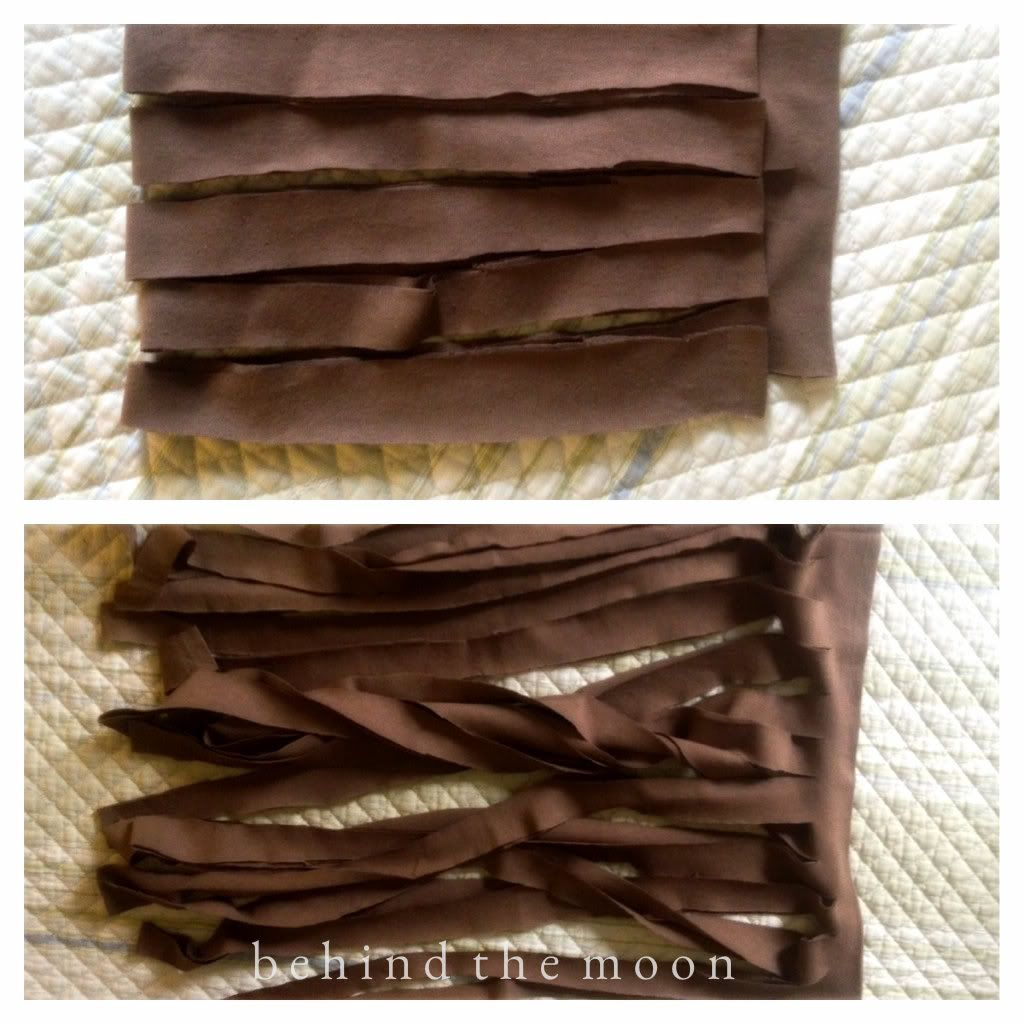 |
| Sorry I switched view points on these two photos. The right side is actually the top. |
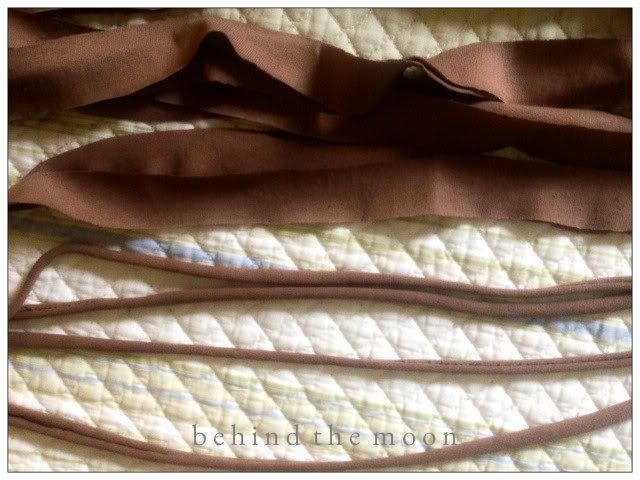
5. Now for the fun part, pulling on all those strings!
You want the fabric to curl on itself to make a "spaghetti" string. Don't be afraid to give it a good tug.
6. Unfold the fabric and bunch together at the solid portion at the top.
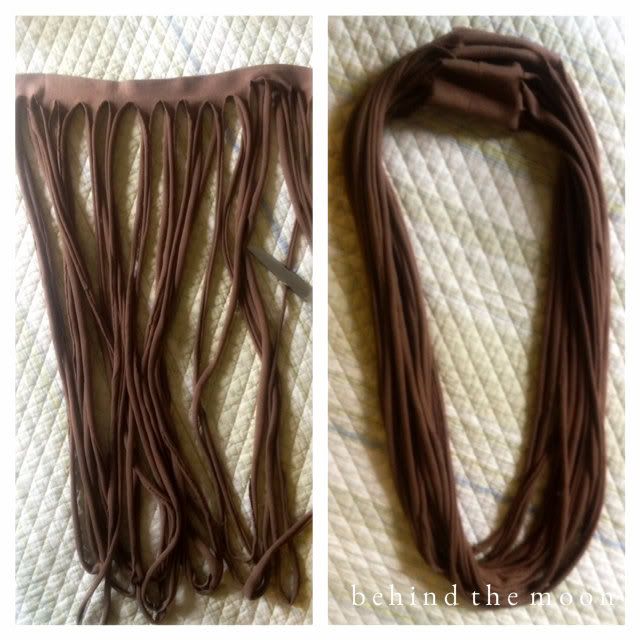
7. At this point you could just cut a strip from the top part of the tshirt and twist around the solid portion of you scarf to finish it off. I chose to add the wooden beads for an extra decorative element.
What can I say, I'm crazy for beads. I cut a strip of fabric and then criss-crossed it back and forth over the solid portion adding a bead to each criss-cross, knotted the end, and tucked in the loose ends on the underside.
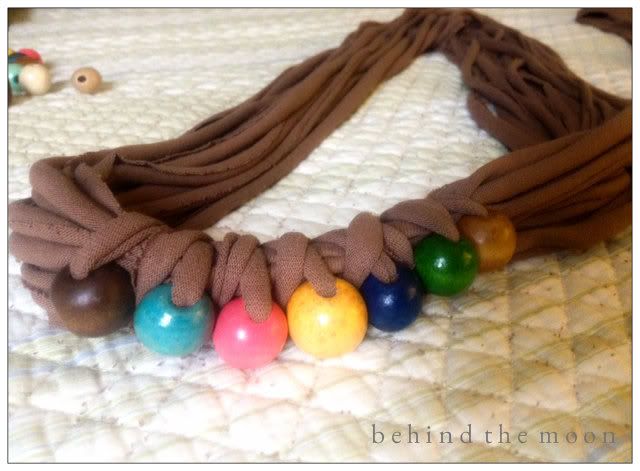
And voila!
You got yourself a fine and dandy new scarf accessory!

Go ahead and give it a try, it's so easy. Hello Christmas gifts!
Sorry to spoil the surprise for those on my list ;)
*I'm guest posting over at Dancing with Ashley today, head on over and find out
how you can win these lovelies!

*I'm guest posting over at Dancing with Ashley today, head on over and find out
how you can win these lovelies!


